
Multisensory Monday- DIY Tactile Trays
Posted by Brainspring on 3rd Apr 2017
Using Orton-Gillingham Phonics First®, you are very familiar with the “Magic Sand Tray”. The tactile support is a critical component to the Orton-Gillingham method. However, the sand tray may not always be feasible. Today, Samantha shares how to create your own alternative to the traditional sand tray.
DIY Tactile Boxes
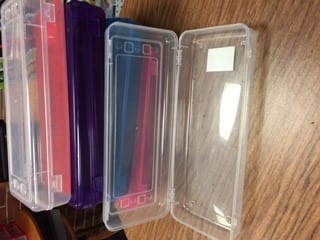
Purchase School Supply Boxes: I went to Home Depot and purchased some of the long plastic school supply boxes with a lid. You can get the smaller ones, but I like the extra room of the longer ones.
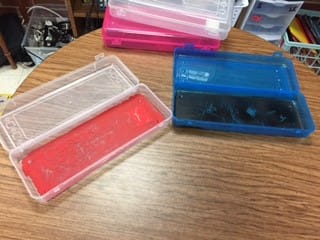
Paint (optional): I painted the bottom of each tray with black acrylic paint so you can really see the strokes you make in the trays. This is optional. You can use any color for the bottom or not paint it at all.
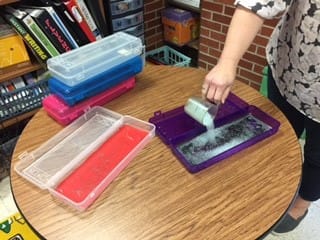
Purchase Reflector Chips: I order a 2.5lb bag of reflector chips from www.liquidreflector.com . It comes in a small brown box. I used a ½ cup of beads in each tray.
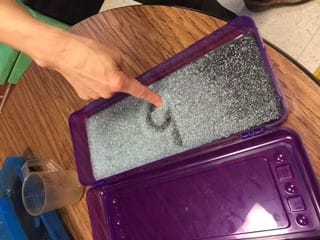
Enjoy! My rule is one finger in the tray while writing to avoid big messes! Put two hands on each side of the box and give a gentle shake to erase. Close the lid until you hear it snap shut.
Samantha Brooks, MSE, Dyslexia Therapist
Samantha Brooks is an Intern Instructor with Brainspring Educator Academy.