Orton-Gillingham Lesson Basics: Spelling of Dictation Words
Posted by Brainspring on 2nd May 2019
This week we feature the next basic component of an Orton-Gillingham lesson plan, the spelling of dictation words. We recently posted on how to introduce and conduct a multisensory activity. In case you missed our latest article Orton-Gillingham Lesson Basics: Multisensory Introduction, click HERE!
Spelling is typically challenging for students. Think of how much easier spelling could be if the patterns were explicitly taught. If students are not yet automatic in their spelling and/or struggle, we want to set them up for success to ensure they are on the right path. Read on to learn about a handy spelling strategy that will support your students.
The Importance of Spelling
Spelling is just as important as reading. Strengthening spelling will also help strengthen reading. Many times, students are stronger readers than spellers. How many times have we heard “my son/daughter is a terrible speller!” Students may compensate and “get by” for a period of time, however, this only works to a certain point. Eventually, they hit a wall and fall behind. This, of course, is frustrating not only for students but for parents, caregivers, and teachers.
We can avoid getting to this point if we use an effective strategy that works for all students. While using the Orton-Gillingham method, students generally tighten up their spelling skills until automaticity is achieved. Why does this work? Because Orton-Gillingham provides explicit phonics instruction that is also multisensory.
An Effective Strategy
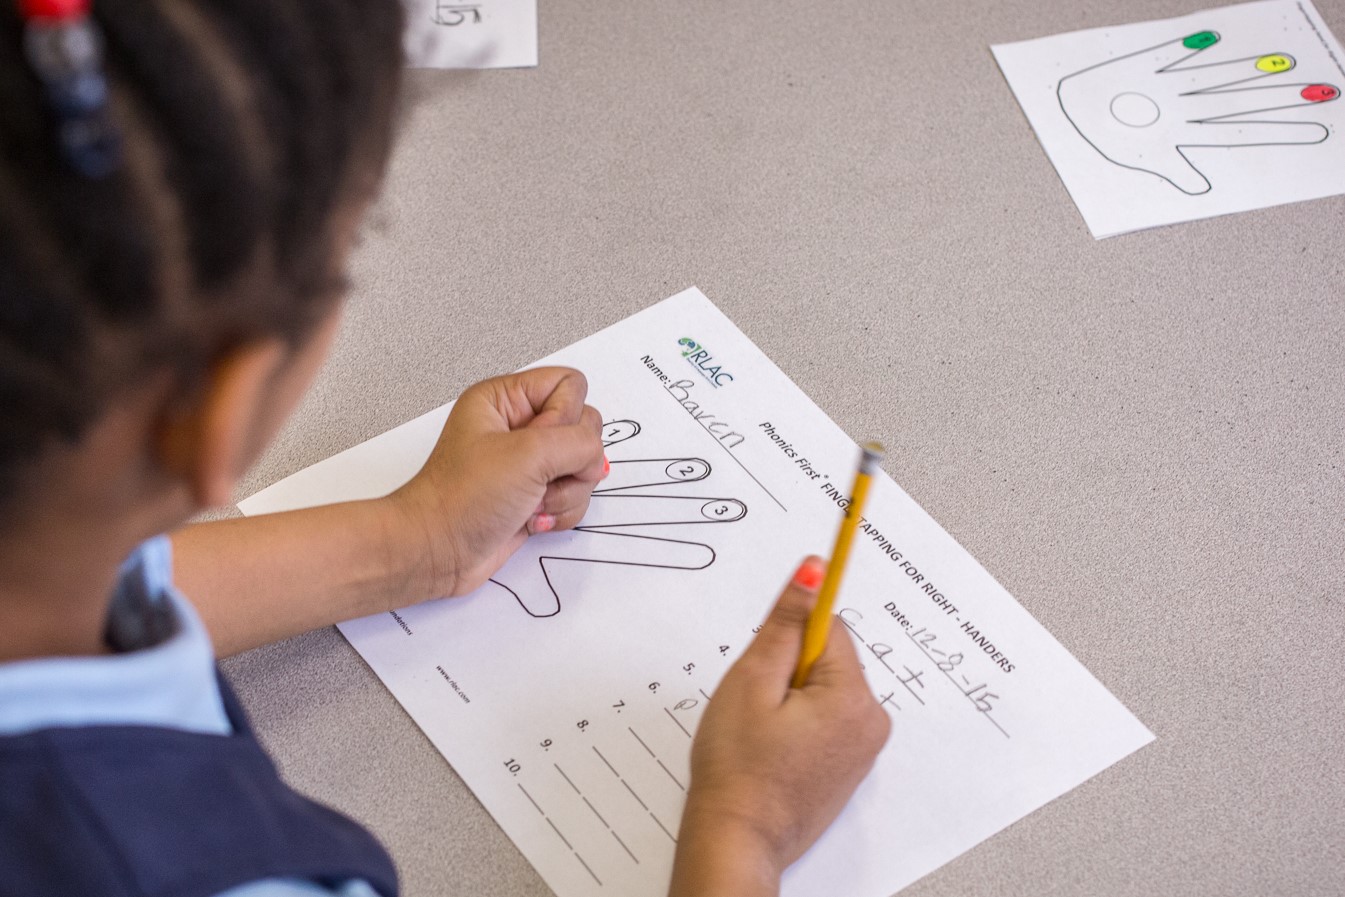
After a sound or skill is introduced using a multisensory approach, we directly apply the skill by spelling words containing the new skill. Students spell words by using the pound and finger tap strategy. All that is required is some paper and a pencil.
Directions for Students:
- Hold your pencil using your dominant or writing hand.
- Listen for the dictation word (ideally, dictation words only contain skills that have been previously taught).
- Orally repeat the word while pounding the syllables in each word on the table with the non-dominant hand (cat – 1 pound, catnap – 2 pounds, basketball – 3 pounds, etc.).
- Orally segment the sounds heard in each syllable while finger tapping with the non-dominant hand, then write the syllable on the page. Tap from left to right. If you are right-handed, pound and finger tap with your left hand. Start with your pinky, then ring finger, then middle finger (saying the beginning, middle, end sounds as you tap). If you are left-handed, start with your thumb, then pointer finger, then middle finger (saying the beginning, middle, end sounds as you tap).
- After all words are written, read a clear and clean copy of the words you just wrote (provide a list of words that are neatly written or typed in case your student’s handwriting is illegible).

Avoiding Bad Habits
As students write their dictation words, it is key to look out for misspellings (or miscues) with every word they write. We do not want to create bad habits! After each dictation word is written, check to see if there are any misspellings. If a student has misspelled a word, pound and finger tap the word again. This will allow the student to slow down, listen for the sounds again and try and catch their error.
Miscues are opportunities that can help to guide our instruction. To see a brief video on the importance of correcting miscues, click HERE!

Written by Brainspring

Learn more about Brainspring’s accredited Orton-Gillingham professional development
Learn more about Brainspring’s Michigan-based Learning Centers
Accreditation: